August 17, 2012
By Sam Hudson
Capturing Screenshots: A tutorial for Garmin, Lowrance, Humminbird, Raymarine and Simrad Units.

(Note: To capture screenshots using a GPSMAP 5008, 5208, 5012, 5212, 5015 or 5215, you need the optional Garmin RF Wireless Remote Control.)
You can capture a screenshot of any screen displayed on your chartplotter as a bitmap (.BMP) file and then transfer it to your computer.
To capture screenshots:
1. Insert an SD card into the SD card slot on the front of the chartplotter.
2. Touch Confgure > System > Beeper/Display.
3. Touch Screenshot Capture to turn screenshot captures On.
4. When you are on a screen you want to capture, take a screenshot:
> For the GPSMAP 4000 series, press and hold the HOME key for at least six seconds
> For the GPSMAP 5000 series, press the HOME button on the Garmin RF Wireless Remote Control for at least six seconds.
5. Touch OK when the Screenshot Taken window is displayed.
To copy the screenshots to your computer:
1. Remove the SD card from the chartplotter and insert it into an SD card reader that is attached to a computer.
2. Either:
>From Windows Explorer, open the Garmin\scrn folder on the SD card.
>In Apple OS X, open the memory card icon an the desktop, then open Garmin\scrn.
3. Copy the appropriate .BMP file on the card and paste it to any location on the computer.
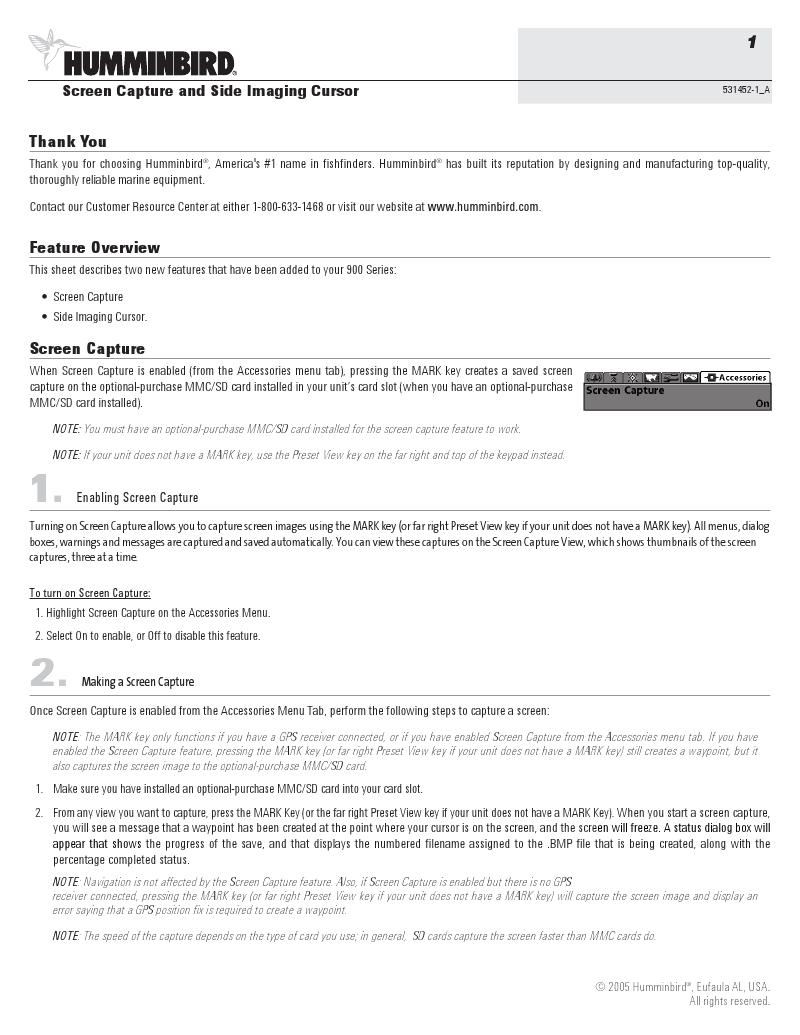
 Saves images of your unit's screen to your unit. That allows you to capture images of everything from underwater structure and fish to routes, map areas and radar targets.
To take a screen capture:
1) Select Screen Capture from the System menu and press ENTER.
2) Press the LIGHT/POWER key to capture the current screen. Repeat this step take additional screen captures.
To save screen captures to MMC/SD card:
1) Select Files from the Utilities list on the Pages menu. Press ENTER.
2) Highlight My Files and press the keypad to the right. Select screenshots and press the keypad to the right.
3) Select the desired screenshot. Press MENU. The screenshot menu will appear.
4) Select Copy and press ENTER. The Copy File menu will appear.
5) Your MMC/SD card will be listed on the screen. Select your MMC/SD card and press ENTER. You will be taken back to the list of screenshots. Repeat Steps 3-5 to copy more screenshots.

Page 1 (Click to Enlarge)

Page 2 (Click to Enlarge)


For A, C and E-Series Classic and Widescreen MFD products, capture the screen by pressing and holding down the DATA key for about 4 seconds. The unit will chirp once as it captures, the screen will pause for a moment, then it will chirp a second time. The operator will get an acknowledgement on the screen that an image was saved. Images are stored on whatever CF card is plugged into the card reader, and they are sequentially named DUMP001, DUMP002, DUMP003 etc. All of the images are 256 color bitmaps, at the identical resolution to the MFD's screen.
On newer c-Series and e-Series MFDs, capture a screen to the MicroSD card by pressing and holding the BACK button for 3 seconds. The operator will get a message onscreen confirming that the image was saved. Because these units have 2 card slots, you can choose which one to save the images to. To set that up go to the home screen and touch CUSTOMIZE. Scroll down to DISPLAY PREFERECNCES, and make a selection under SCREENSHOT FILE. Chose MicroSD1 or MicroSD2. The top slot is #1, the bottom #2.

http://www.youtube.com/watch?v=ljhMFOPgUjk

